
The most useful push-up board isn’t necessarily the one with the most positions. A push up board for home exercise can make it easier to vary your hand placement and organize a workout, if its design suits your routine. Place it on a flat surface and focus on controlled form rather than chasing more repetitions.
It’s reasonable to wonder whether a board adds value or simply takes up space. Consider practical details: how clearly its positions are marked, whether the board feels stable, which exercises it supports, and whether its weight capacity suits your needs.
This guide compares board features, construction, and value to help you decide what matters. You’ll also learn how to set up a board, adapt push-ups to your current level, and check key safety details. The goal is a manageable home setup that fits into your regular routine.
Key Takeaways
- Use color-coded positions to vary hand placement; red positions target the shoulders, and handles should match on both sides.
- Build a manageable routine with knee push-ups as an easier starting option, then progress when your form feels steady.
- Compare board styles by how their design, position options, and included workout features fit your space and exercise habits.
- Check stability and weight capacity before use, place the board on a flat surface, and prioritize controlled form over more repetitions.
- Learn which value claims deserve a closer look and how a coded board may fit a simple home workout setup.
Colour-coded hand positions and targeted muscle groups
A colour-coded board assigns a purpose to each marked hand position. On the board described here, red positions target the shoulders, while other colours indicate additional placement options. The markings make it easier to repeat a setup and compare how positions feel. They guide hand placement, but don’t replace controlled movement or sound push-up form.
Before your first repetition, read the board’s position guide. Match each colour to its indicated target instead of assuming every board uses the same colour system. Then place the handles in corresponding positions on both sides. For example, if one handle sits in a red shoulder-targeting slot, put the other in the matching red slot. Balanced placement gives you a symmetrical starting position.
Use the board to explore placement with care, rather than trying every position in one session. A wider or narrower hand position changes your setup and can shift where effort feels strongest. Keep your body steady, lower under control, and stop when you can’t maintain your chosen form. Claims of 30 to 50% more muscle activation are unsupported, so judge a board by its practical guidance, not a dramatic activation promise.
| Position option | What it indicates | Useful choice when |
|---|---|---|
| Red slots | Shoulder-targeting positions | You want to follow the board’s shoulder emphasis |
| Other colour-coded slots | Alternative hand placements shown by the board | You want to vary your setup using its guide |
| Unmarked floor position | Your familiar hand placement without board slots | You want a simple comparison with the board |
Choose a board with markings you can read easily and positions that suit your range of motion. Clear guidance makes setup repeatable; extra colours alone won’t make a workout more effective.
- Warm up lightly and mobilize your shoulders, arms, wrists, and back before using the board.
- Choose one marked position, then place both handles in matching slots.
- Complete controlled repetitions and notice whether your form stays steady throughout.
For a push up board for home exercise, colour coding is most useful when it makes setup simpler. It can help you organize a workout around marked positions instead of guessing where to place your hands. Treat each colour as a setup cue, not a promise of a particular result. If a position feels uncomfortable or makes it harder to control your movement, return to a comfortable placement and focus on clean repetitions. This keeps the board practical and makes it easier to compare positions.
How to Structure a Workout With a Multifunctional Push-Up Board?
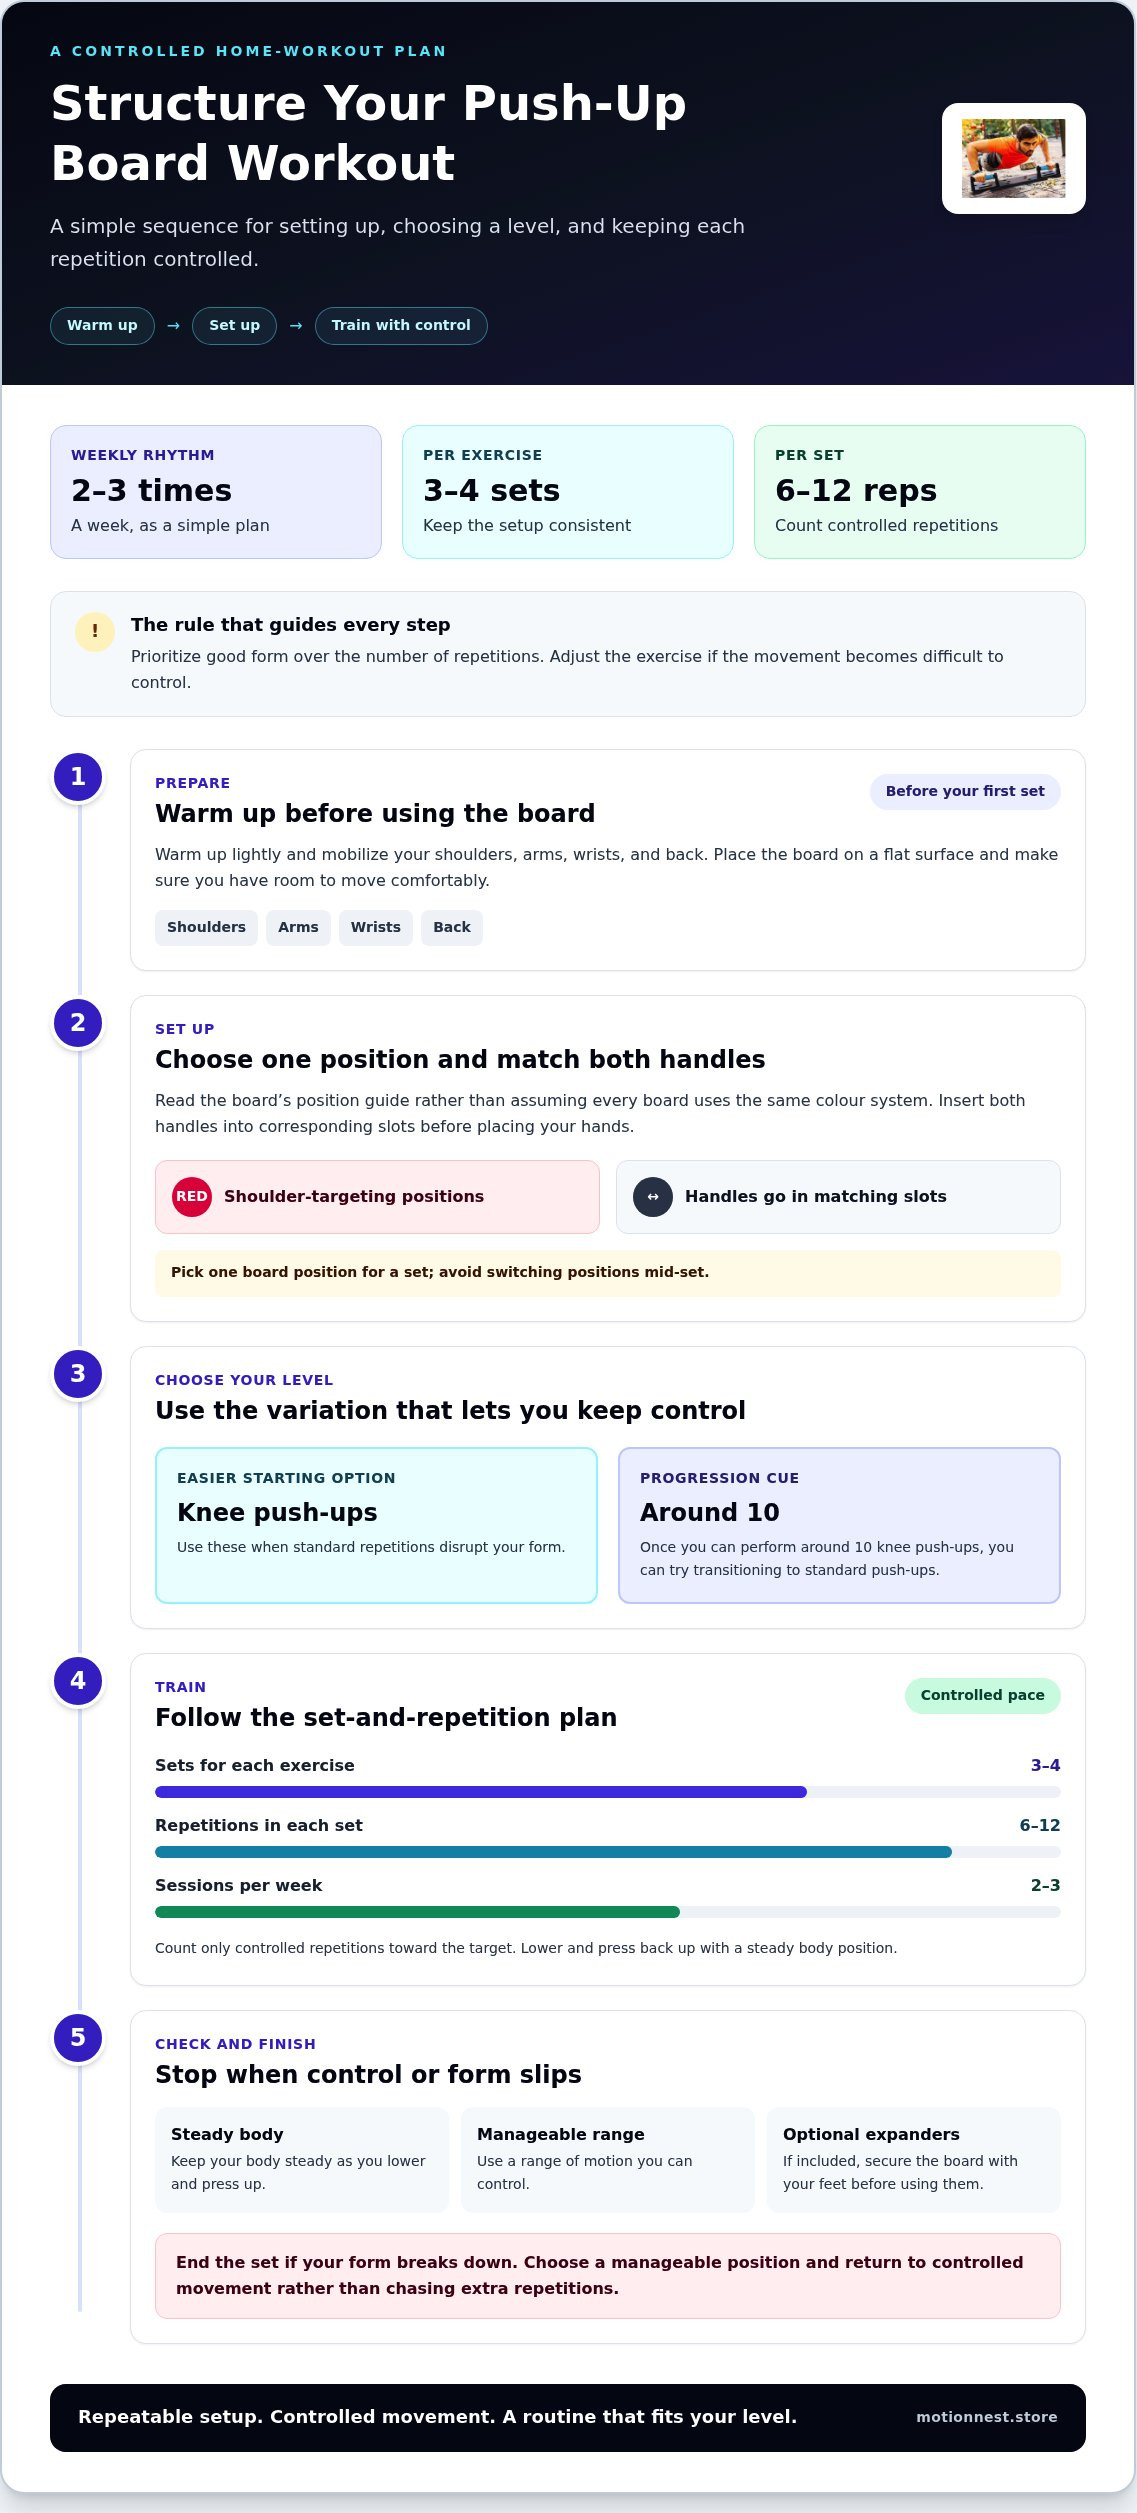
Warm up, match both handles to corresponding positions, and move with control. If your board includes expanders, secure it with your feet before using them. Prioritize good form over the number of repetitions.
A board adds practical value when its marked positions and workout options help you follow a repeatable home routine. It doesn’t replace controlled technique, but it can make hand placement easier to organize from one session to the next.
Workout Frequency, Sets, and Repetitions
A simple plan is to train with a multifunctional board 2-3 times a week, performing 3-4 sets of each exercise. Aim for 6-12 repetitions per set, while keeping each repetition controlled. These figures create a clear structure, unlike an unplanned session where position changes and extra repetitions can distract from form.
Choose a variation that lets you complete the planned repetitions without losing control. Beginners can start with knee push-ups as an easier option. Once they can perform around 10 knee push-ups, they can try transitioning to standard push-ups. Adjust the exercise, not your form, if the movement becomes difficult to manage.
- Pick one board position for a set, rather than switching mid-set.
- Count controlled repetitions toward the 6-12 target.
- Use knee push-ups when standard repetitions disrupt your form.
The board’s marked positions can make home workouts easier to plan. You’ll also need enough floor space to move comfortably. A familiar setup can make it easier to return to your routine without planning each workout from scratch.
Correct Board Use
Start with a light warm-up and mobility movements for your shoulders, arms, wrists, and back. Insert both handles into corresponding positions before placing your hands. Unlike floor push-ups, a board uses slots to guide hand placement, so check both sides before each set.
Keep your body steady as you lower and press back up. Use a range of motion you can control, and end the set if your form breaks down. If your board includes expanders, secure it with your feet before use. These steps help you use the equipment deliberately rather than rush through repetitions.
For a practical home setup, choose a position that feels manageable and use it consistently while learning the movement. A coded push-up board option can help organize hand placements; the main value still comes from following the position guide and maintaining controlled form.
Alternative board designs and position counts
Push-up equipment ranges from flat boards with marked slots to separate bars. A foldable 30-in-1 board emphasizes multiple hand-placement configurations, while a board with 15 angle slots offers a smaller, clearly defined set. These counts describe available setups, not how many exercises you must perform. Choose based on whether those positions match movements you’ll actually use.
A larger count can look versatile, but the layout matters more than the headline number. Check whether the slots are easy to identify and whether both handles can be placed symmetrically. For example, a board with 15 angle slots may suit someone who prefers a visible, finite set of placements. A 30-in-1 design may appeal to someone who wants more configurations in one foldable piece.
Boards With Added Workout Options
Some multifunctional board packages include 2 rubber expanders and 4 metal rings for attaching them. That design adds an option beyond push-ups, while a board without rings keeps the setup focused on hand placement. The extra parts only add value if you plan to use them and have room to secure the board as directed.
When comparing designs, consider how each feature fits your routine. A foldable board may be easier to store than a rigid layout, while rings and expanders add setup steps. Focus on positions you can explain and repeat comfortably, rather than choosing a board just because it has more.
Push-Up Bars as an Alternative
Separate bars provide another format. Options include adjustable push-up bars, ergonomic bars with an anti-slip structure, and wooden bars. A pair of wooden bars may be listed as 30 cm long, while another wooden style has non-slip bases. These designs don’t use a board’s color-coded slot map, so your hand placement comes from where you position each bar.
Bars can suit a routine built around a few familiar hand positions. An adjustable design lets you change bar placement, while an anti-slip structure or non-slip base is a separate design feature. Wood changes the material, but material alone doesn’t determine how stable a set feels on your floor.
Compare the format, not just the number of positions. A board offers marked locations to follow, while separate bars let you choose placement without fixed slots. Foldability, material, marked angles, and included attachments affect storage and setup. Picture a typical workout before deciding: choose the positions you’ll use, consider whether you need expanders, and select a design that suits the routine without unnecessary extras.
- Choose a 15-slot layout if a defined set of placements fits your routine.
- Consider a foldable 30-in-1 style if you want multiple configurations in one board.
- Compare bars by their stated features, such as adjustability, anti-slip structure, material, or base.
Comparing push-up boards by build, stability, versatility, and value
Boards organize hand positions, standard push-ups use the floor, and separate bars let you choose placement. Typical costs depend on design, materials, adjustability, and included accessories, so compare the full setup rather than one feature.
Board Build, Stability, and Versatility
A board combines a platform with marked hand positions, while its build determines how it folds, sits, and supports different setups. A 15-angle-slot board offers defined placement choices; a multifunctional package may add 2 rubber expanders and 4 metal rings. Those extras widen workout options, but also add parts to set up and store.
| Option | Build or feature | Versatility consideration |
|---|---|---|
| 15-slot board | Marked angle positions | Defined hand-placement choices |
| Foldable board | Folding platform | Multiple configurations in one design |
| Multifunctional board | Expanders and attachment rings | Includes options beyond push-ups |
| Separate bars | Two independent supports | Hand placement is set by positioning each bar |
Stability depends on how the board sits on the floor and how securely its parts fit together. Place it on a flat surface and test its position before starting. A foldable design may be easier to store, while a fixed platform may be simpler to set up. Choose a build that suits your workout space and planned movements.
Boards, Standard Push-Ups, and Push-Up Bars
Standard push-ups need no equipment, and you place your hands directly on the floor. A board adds marked slots for repeatable hand placement. Separate bars raise your hands and let you position each support independently. All three options support push-ups, but differ in setup, hand height, and placement cues.
Choose the floor for a straightforward movement with minimal setup. Choose a board if following marked positions helps organize a routine. Bars suit someone who prefers separate supports and adjustable placement. For example, a 15-slot board gives a set of visible locations, while two bars can be moved without matching built-in slots.
Typical Board Costs
The design and included items affect what you get in a package. A basic board and a foldable board with multiple configurations have different builds; a multifunctional set may include expanders and rings. Push-up bars also vary by material and features, such as adjustability, an anti-slip structure, or non-slip bases.
List the features you’ll use, then compare which design provides them. If you only need marked hand positions, extra attachments may add little practical value. If your routine includes expanders, having them may matter more than a larger number of slots. Balance useful options with storage and stability.
Use this guide to choose: floor push-ups offer the simplest setup, bars allow independent placement, and a board provides guided positions. Then compare construction and included features with your available space and routine. More features matter only if they support movements you plan to repeat.
Push-up board weight capacity and safety
A board’s weight rating matters alongside its surface grip and construction. For heavier users, or explosive or single-arm push-ups, treat around 300 pounds as the minimum board rating. The rating helps compare equipment, but it doesn’t replace checking stability before each session. Match the board’s stated capacity to your bodyweight and the movements you plan.
Start with the setup. Place the board on a flat surface, since uneven flooring can affect its stability. Check that it stays in position as you place your hands and begin a controlled repetition. If it shifts, rocks, or feels unstable, stop and reposition it on a suitable surface.
What to Check Before a Set
Inspect the board each time you train. Look for cracks, loose parts, damaged slots, or worn contact points. Check that both handles fit securely in their selected positions. If the board has separate pieces, make sure each rests evenly before placing your bodyweight on it.
Begin with a controlled push-up, not a fast or explosive movement. Notice whether the board slides, flexes, or shifts under pressure. A slow repetition is a useful first stability check, but doesn’t prove the board is suitable for every movement. Single-arm and explosive push-ups place different demands on the setup, so consider the equipment’s capacity guidance when choosing.
- Read the board’s weight rating and compare it with your needs.
- Use a flat surface and check for movement before continuing.
- Inspect handles, slots, and contact points for visible damage.
- Keep repetitions controlled, especially when learning a new position.
The floor also affects stability. Smooth, uneven, or soft surfaces can change how securely the board sits. Choose a firm, level area and clear nearby objects before exercising. If you use expanders, secure the board with your feet. Keep your hands aligned and avoid rushing into movements you can’t control.
Safety comes from matching the board, surface, and exercise. Around 300 pounds is the minimum rating to consider for heavier users or explosive or single-arm push-ups. For a regular workout, a flat floor, secure parts, and controlled movement are practical checks. Explore home exercise board options with those safety priorities in mind.
Motion Nest: Bathroom Handrail With Vacuum Sucker For Safety Support
Motion Nest offers the Coded Push Up Muscle Board for readers building a guided home workout. Its coded positions can help organize hand placement as you put the comparison points from this guide into practice.
The Bathroom Handrail With Vacuum Sucker For Safety Support addresses a different need: added support at home. It’s a separate home-safety option, not exercise equipment or a substitute for choosing a stable push-up board. Consider it when your household needs a handrail alongside fitness gear.
Choose based on the task: the coded board for push-up practice, or the handrail for home safety support. Visit motionnest.store to explore these options.
Make Your Next Home Workout Choice
Choose equipment that supports the routine you want to build, not a setup that adds clutter. A push up board for home exercise can be one part of your plan. Decide which movement you want to practice, then choose an item that suits your goal and available space.
Motion Nest offers the Coded Push Up Muscle Board for push-up practice, along with the Bluetooth Boxing Machine for a different workout activity. The Bathroom Handrail With Vacuum Sucker For Safety Support serves a separate home-safety need. These options suit different tasks, so focus on the one that fits your immediate priority.
Start with a clear goal and build your routine at a comfortable pace. Contact Motion Nest for help exploring its home and fitness products, and take your next step with confidence.
Frequently Asked Questions
Do push-up boards actually work, and are they worth it?
Yes, a push-up board can make hand placement easier to plan and repeat. Its value depends on whether the marked positions help you follow a consistent routine. Someone who likes visual cues may find the slots useful, while someone who prefers simple floor push-ups may not need a board. Consider how often you’ll use its features and whether they make your workouts easier to organize.
What is a push-up board and how does it work?
A push-up board is a platform with designated slots for handles. Choose a position, fit the handles into the matching slots, then perform push-ups with your hands on the handles. This provides a repeatable setup, such as returning to the same hand placement in another session. Some designs also have attachment points for accessories, which can change the setup.
What muscles do push-up boards target?
Push-ups primarily work the chest, triceps, and shoulders, while the torso helps keep your body steady. A board doesn’t create a different movement; it provides hand-placement options for push-ups. For example, you can use one position for a set and another to change your setup. Push-ups aren’t a pulling exercise, so they don’t train the back in the same way as rows or pull-down movements.
What are the best push-up boards for home workouts in 2026?
The best choice depends on whether you prefer simple marked positions, foldability, or extra exercise attachments. Motion Nest lists a Coded Push Up Muscle Board, but it’s currently sold out. Motion Nest ships worldwide, offers a money-back guarantee, and states delivery in 4-8 days. Compare a board’s layout and included parts with your routine, then choose the design that supports movements you’ll use regularly.
Which board positions target the chest, shoulders, triceps, and back?
Position labels vary, so follow the guide on your specific board instead of assuming colours match across designs. On the colour-coded board described here, red positions target the shoulders. Push-ups can engage the chest and triceps, but a board’s hand-position map isn’t a guide to back training. For back-focused work, choose pulling movements rather than push-ups.
What features should you look for when buying a push-up board?
Start with features you’ll use: clear position markings, a layout that suits your preferred hand placements, and a design that stores comfortably at home. If you want to do more than push-ups, check whether the board includes attachments and whether you’ll use them. Compare its construction and weight rating with your needs. A long list of positions is less useful if the markings are hard to follow.
Are push-up boards safe for beginners or people with wrist or shoulder pain?
Beginners can try easier variations, such as knee push-ups, and focus on controlled movement. A board doesn’t automatically make push-ups suitable for wrist or shoulder pain, and it shouldn’t be used to push through pain. Stay within a comfortable range and stop if discomfort increases. Anyone with ongoing pain or an injury should get individualized guidance before adding push-ups to a routine.
How often should you use a push-up board, and what is a good beginner routine?
A suggested routine is 2-3 sessions a week, with 3-4 sets of 6-12 repetitions per exercise. Beginners can start with knee push-ups and focus on completing each repetition with control. When they can perform around 10 knee push-ups, they can try transitioning to standard push-ups. Keep the same position for a set, then record which variation felt manageable for your next workout.